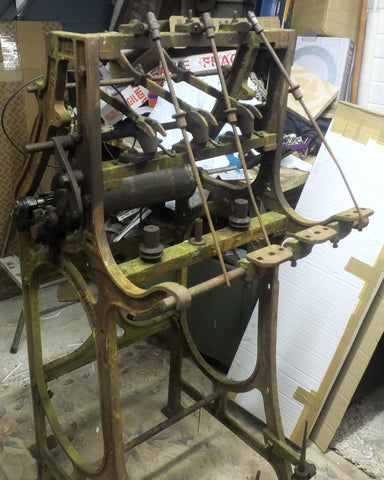
The pirn winder is an important piece of kit for the Hattersley Loom weaver. Correctly set up it will provide a consistent pirn for the shuttle, perfectly wound.
Our winder was a motorless pile of rust, a month later a very handy working machine! The majority of the work involved was derusting and I used a lot of WD40 and Kano Kroil, the latter especially useful to unseize moving parts. A lot of tap-tapping with a small hammer was done to try and separate these parts, and I did break a chunk out of one of the wharves which had to be welded back together.
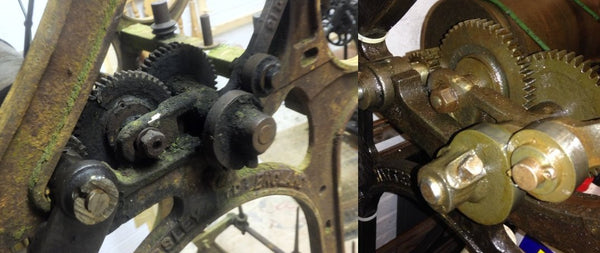 gears before and after
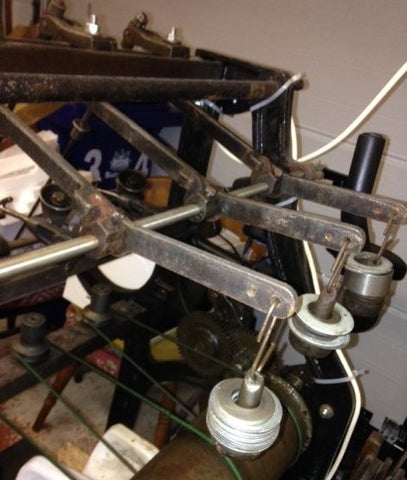
Our loom came with one belt for the wharves (3 were needed) and no motor, so I got some 4mm polyurethane belting, cut it to size and then fused the ends together with a cigarette lighter.
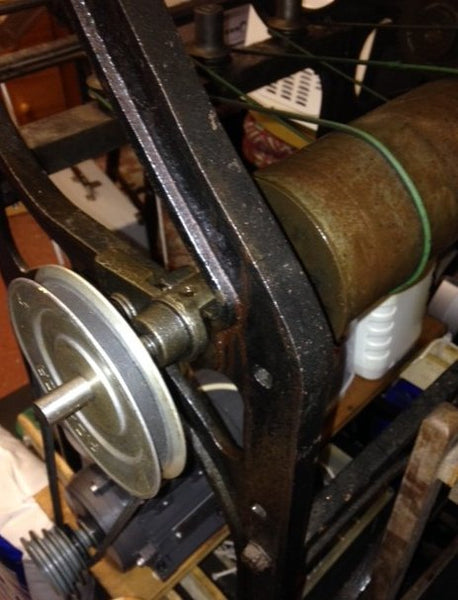
pic shows green wharf belt and top 10cm pulley which is on a new metal bar.
From scrap wood I made a platform for the motor (firmly fixed to the frame) and I used an old stepped pulley which I had lying around. This was handy as I could change the pulley size to find the one with the right speed. The result was: with the top pulley at 10cm, 4", the bottom one wanted to be 4cm, or 1.5", a ratio of 2.5:1. From watching other videos of pirn winders this provided the correct speed.

 The shaping cones were the last to yield to the deseizing fluid, I thought they never would!
It strikes me as strange that amongst all this heavy metal there are ceramic mouldings which guide the incoming thread. Unsurprisingly all the bits that came with the machine were in barely usable pieces. Two pieces formed one whole moulding so I glued them together and made a rubber mould from which I produced duplicate ceramics with a hard plaster. The pic below shows, from left to right:

Moulded ceramic - original ceramic - half original/half moulded
My plaster mouldings are certainly not as hardwearing as the originals, but they do the job. Anyone reading this who needs one or more please get in touch.
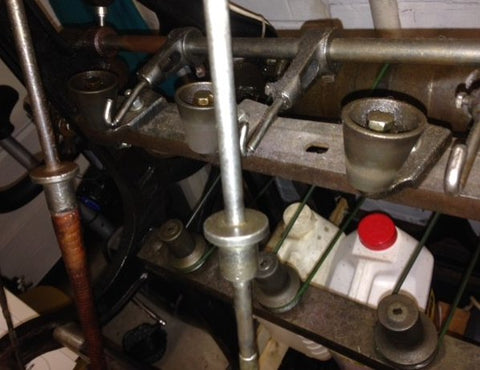
 Balance levers at rear of machine.
It's a precise job getting all the shaping cones in the right position so they deliver 3 equally shaped pirns. Part of this process involves the balance levers which are individually weighted, as you can see from the pic I used lots of large washers on top of the original weights to get the right result.
Some of the bars were really scabby and not worth recovering so there are a few new ones. I must have been feeling flush because I bought stainless steel bar, so at least some of it won't go rusty!
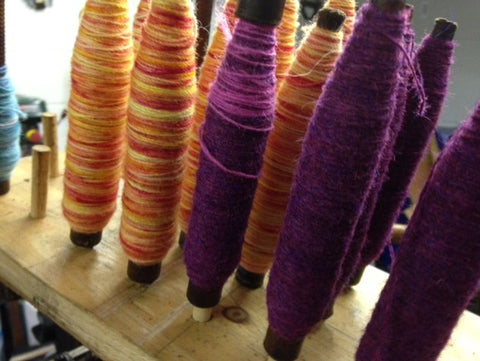
It's a bit magical when it runs and a pirn forms by itself, slowly rising until the spindle pops out of the wharf.
Thanks to Charlene in British Columbia for inspiring this article.